
10 Bitwig Tips & Tricks Vol. 2


Welcome to Volume 2 of TÂCHES TEACHES' Bitwig Tips & Tricks! I'm TÂCHES and as always, I'm going to reveal some amazing, overlooked features of Bitwig Studio. Whether you're a Bitwig beginner or a pro, these insights will, without a doubt, supercharge your mastery of Bitwig 5.
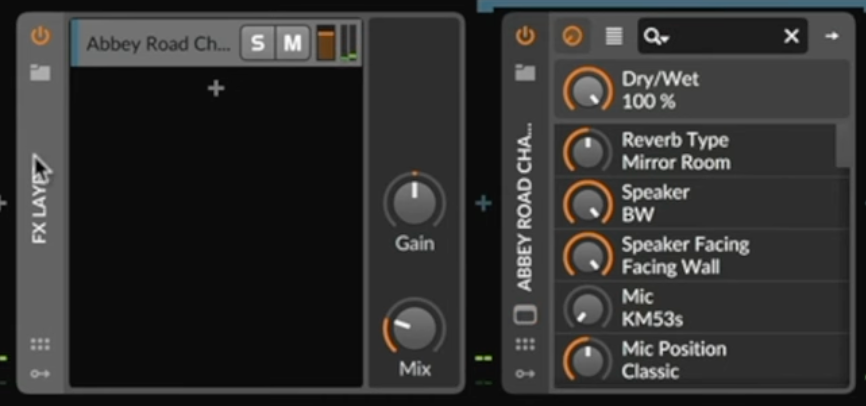
Tip #1: Creating a Dry/Wet Knob
Sometimes, plugins may not have a dry/wet knob or may automatically reset the dry/wet level when changing presets. To overcome this, you can create your own dry/wet knob in Bitwig. Simply select the device, press Command-G (Control-G for PC), and group it. Now you have access to a Mix knob, which functions as a dry/wet control. This is particularly helpful when mixing and wanting to push the extremes of certain effects.
Tip #2: Using Remote Controls
Bitwig allows you to assign remote controls to parameters, similar to using macros in Ableton. However, one limitation is the inability to scale down the parameter range. To work around this, create a macro knob and set its range to your desired minimum and maximum values. Then, map the remote control to the macro knob. This allows you to have more precise control over the parameter range.

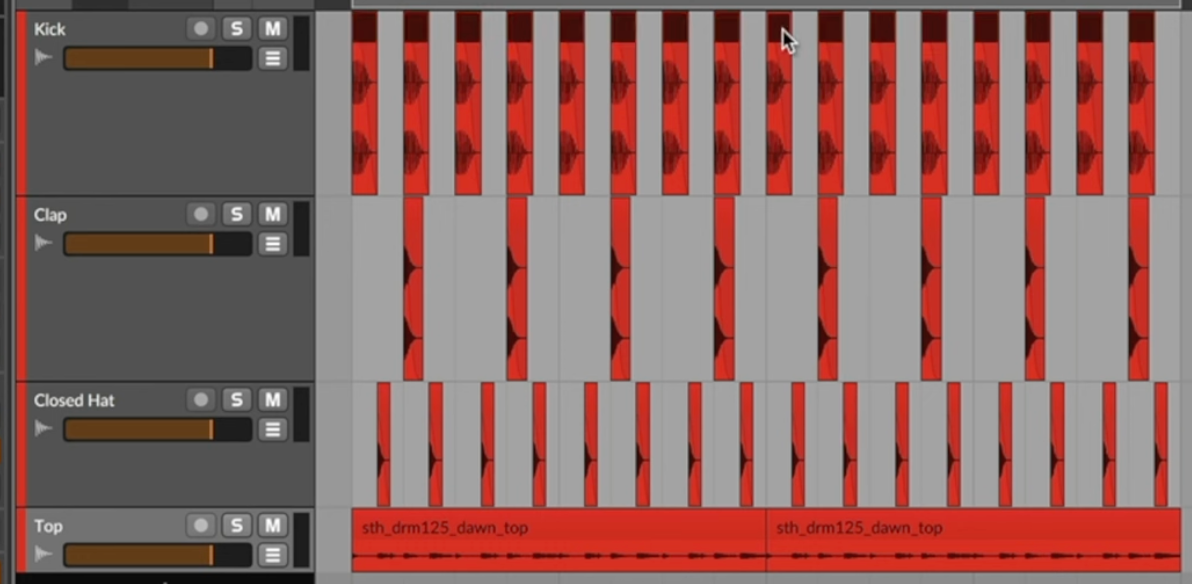
Tip #3: Laying Multiple Audio Clips on the Timeline
Unlike Ableton, Bitwig automatically places dragged audio clips on multiple channels. However, if you want to put all the clips on the same channel, hold down the Control key while dragging the clips. This allows you to quickly organize and arrange multiple audio clips in Bitwig.

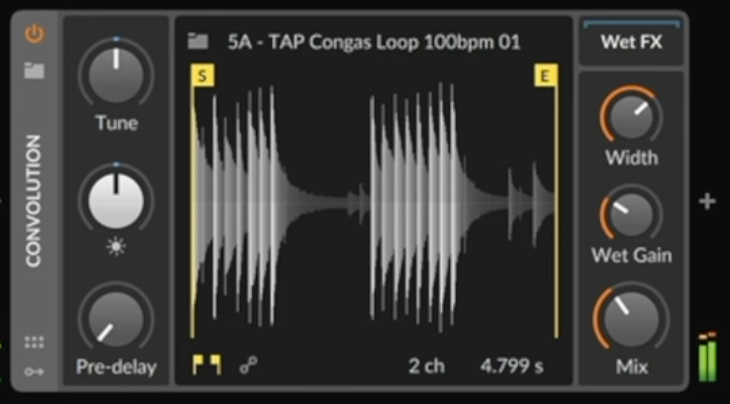
Tip #4: Using Convolution Reverb with Tempo-Matched Samples
When using the Convolution Reverb in Bitwig, it's important to match the tempo of the sample to your project's tempo. If the sample has a different tempo, it can result in a messy sound. To fix this, drag the sample to the timeline and bounce it to the desired tempo. Then, use the newly edited sample for convolution reverb, resulting in a more cohesive and synchronized sound.
Tip #5: Efficient Selection with Command-A
In most software, pressing Command-A selects everything in the project file. In Bitwig, pressing Command-A once selects everything on the current channel, while pressing it a second time selects everything in the project file. This is a handy way to quickly highlight specific elements without needing to zoom out or navigate through the entire project.
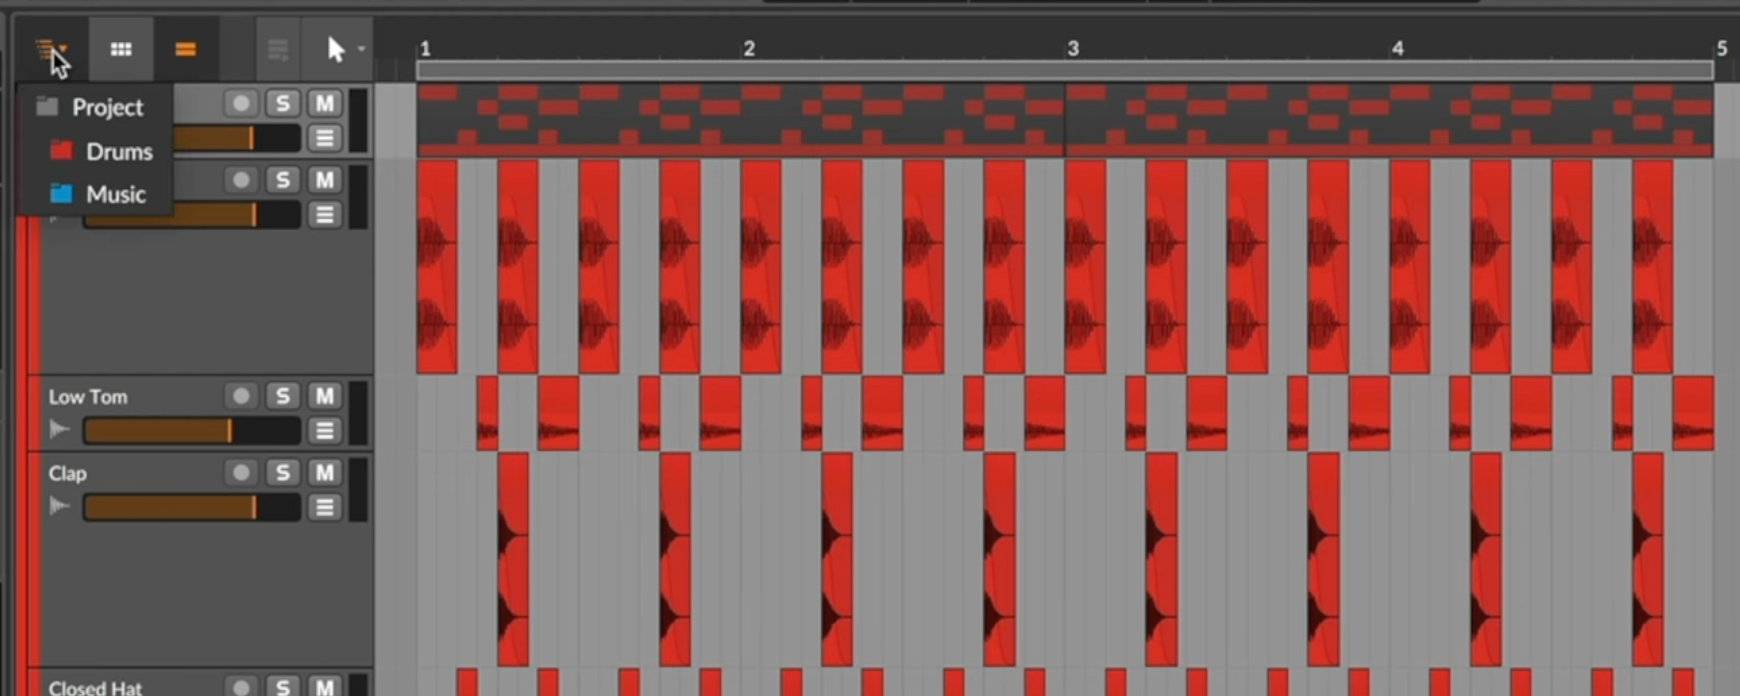
Tip #6: Streamlining Workflow with Focused View
Bitwig offers a focused view feature that allows you to focus on specific elements in your project. Click on the drop-down menu in the top left corner and choose a specific group or folder to view exclusively. This helps remove distractions and allows for a more focused workflow when working on specific parts of your project.
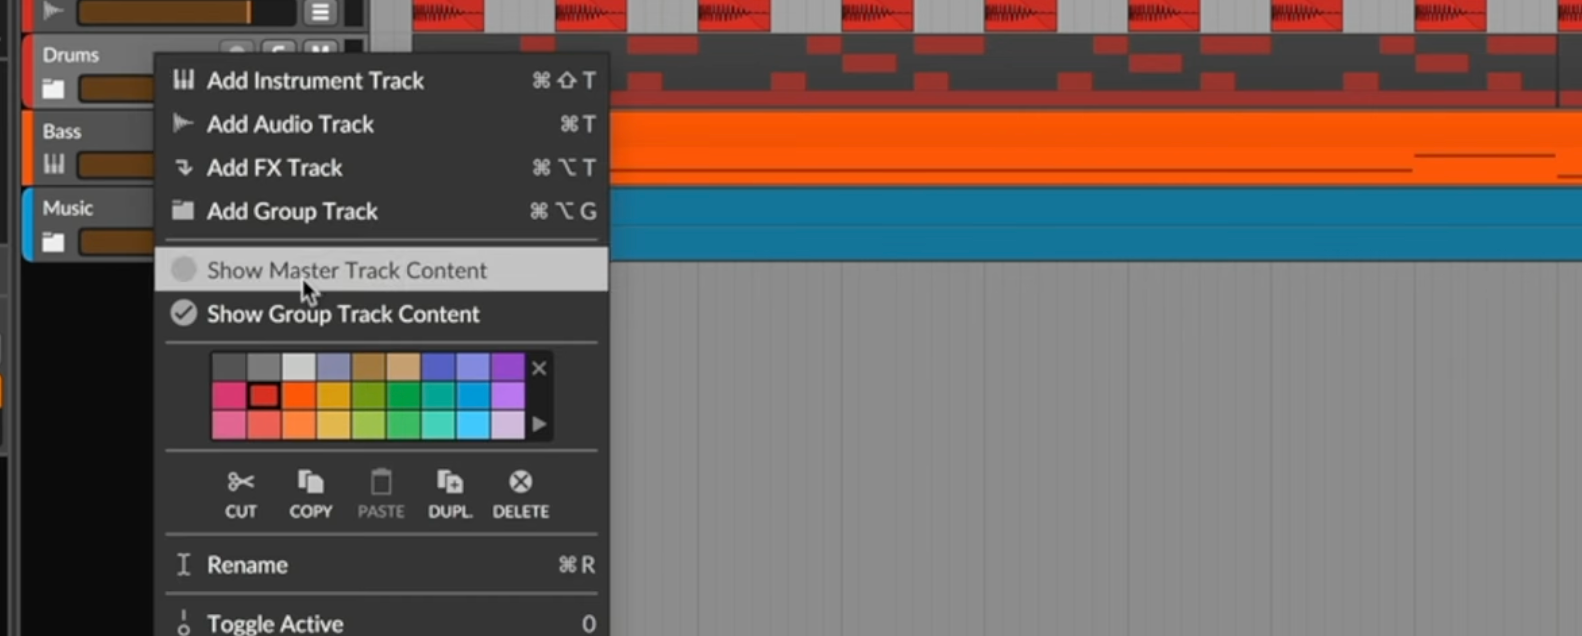
Tip #7: Bouncing Down to Groups
To simplify a large project file and improve CPU usage, consider bouncing down groups of tracks to stems. This involves selecting a group, right-clicking on it, and choosing "Group Track Content." This creates a single audio clip containing all the clips and plugins within the group. You can then deactivate the original clips to save CPU, while still having access to the grouped content.
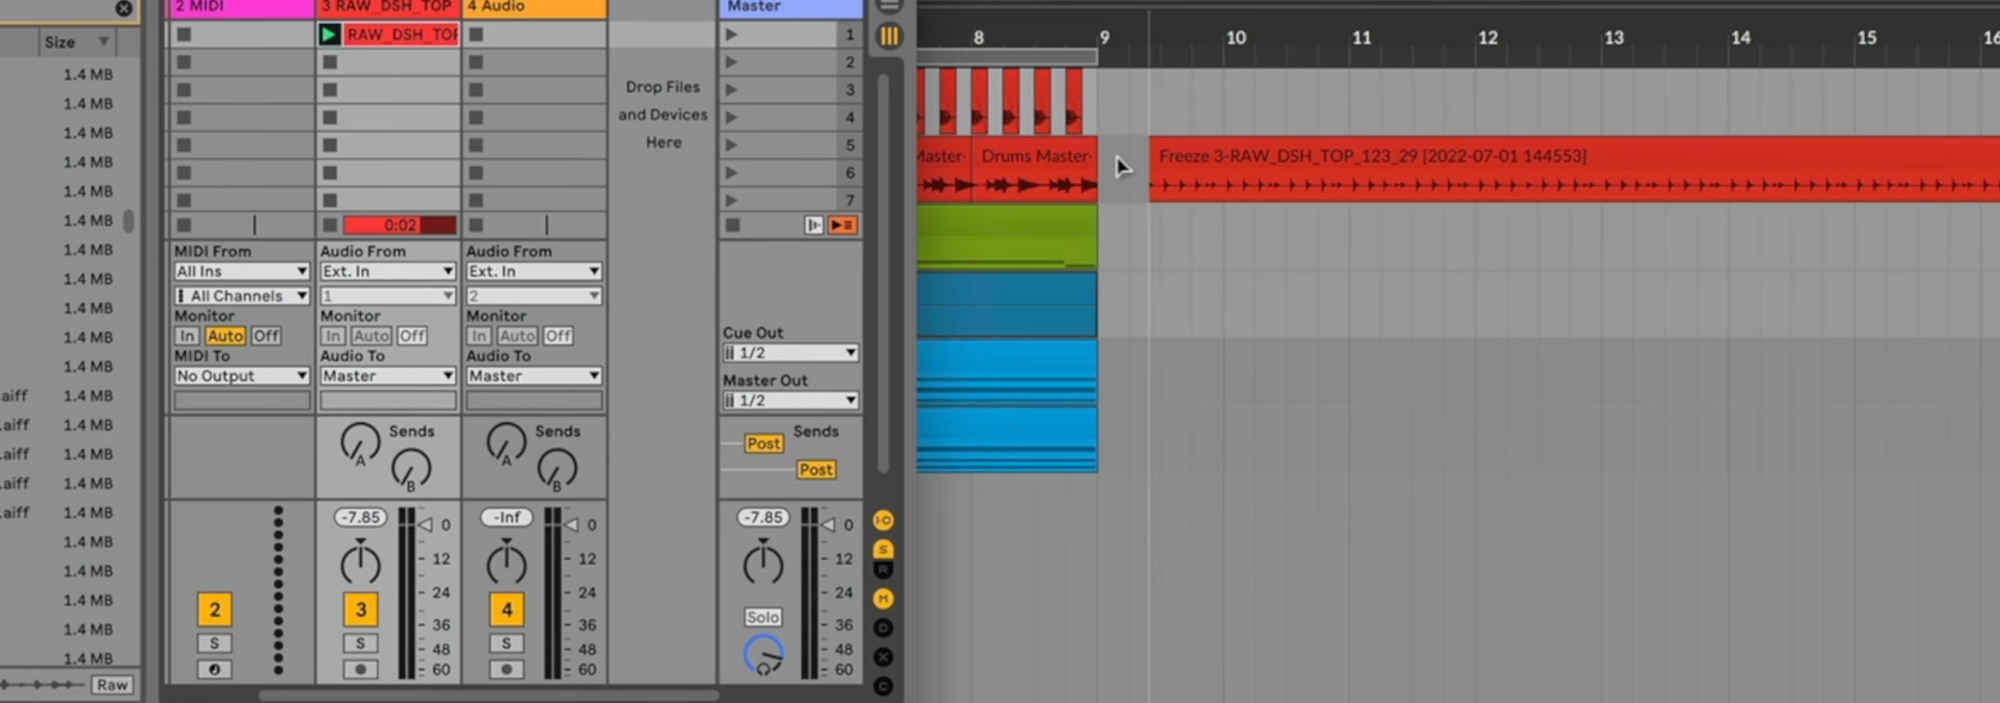
Tip #8: Dragging Audio from Ableton into Bitwig
If you prefer certain features or effects in Ableton that Bitwig doesn't excel at, such as transient shortening or granular stretching, you can still integrate them into your Bitwig workflow. Simply freeze or consolidate the audio in Ableton, and then drag the audio clips directly into Bitwig. This allows you to take advantage of your favorite Ableton features while working in Bitwig.
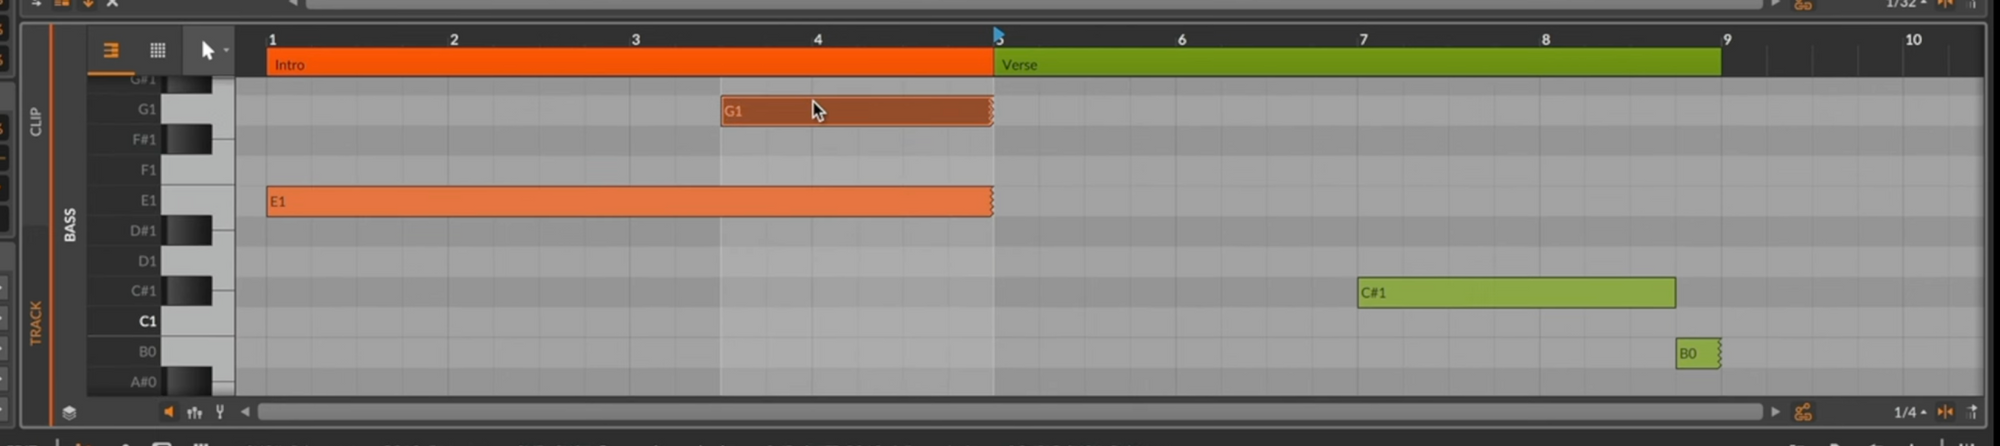
Tip #9: Switching between Clip and Track Mode
Bitwig offers two modes for viewing clips: clip mode and track mode. In clip mode, you see only the content within the clip range, while in track mode, you can see all the content of the track, including content outside of the clip range. This is useful when making edits or changes that extend beyond a single clip and require a broader view of the project.
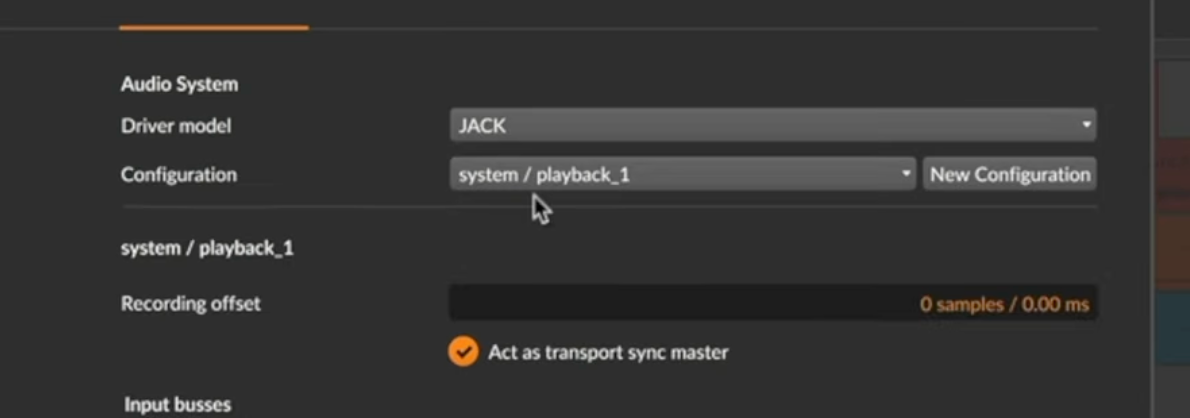
Tip #10: Recovering from Audio Engine Hangs
Despite Bitwig's stability, occasional audio engine hangs may occur. To resolve this issue, open the settings and temporarily switch the audio driver to jack. This will cause the audio system to crash, but switching it back to the original audio driver (e.g., core audio) will typically restore functionality. This workaround helps recover from audio engine hangs without having to force quit Bitwig.
I hope you found these 10 tips and tricks helpful for your Bitwig Music Production. Remember to experiment and find ways to enhance your workflow and creativity. Happy creating, and see you next time!