10 Bitwig Tips & Tricks Vol. 3
Welcome to Volume 3 of TÂCHES TEACHES' Bitwig Tips & Tricks! I'm TÂCHES and as always, I'm going to reveal some amazing, overlooked features of Bitwig Studio. Whether you're a Bitwig beginner or a pro, these insights will, without a doubt, supercharge your mastery of Bitwig 5.
Tip #1: Easily Access Modulation Amounts
When working with multiple modulators in Bitwig, it can be difficult to keep track of the modulation amounts on each parameter. To solve this problem, simply right-click on the parameter you want to modify and select the modulator. You can even add multiple modulators to the same parameter.

Tip #2: Apply Edits to Multiple Layers
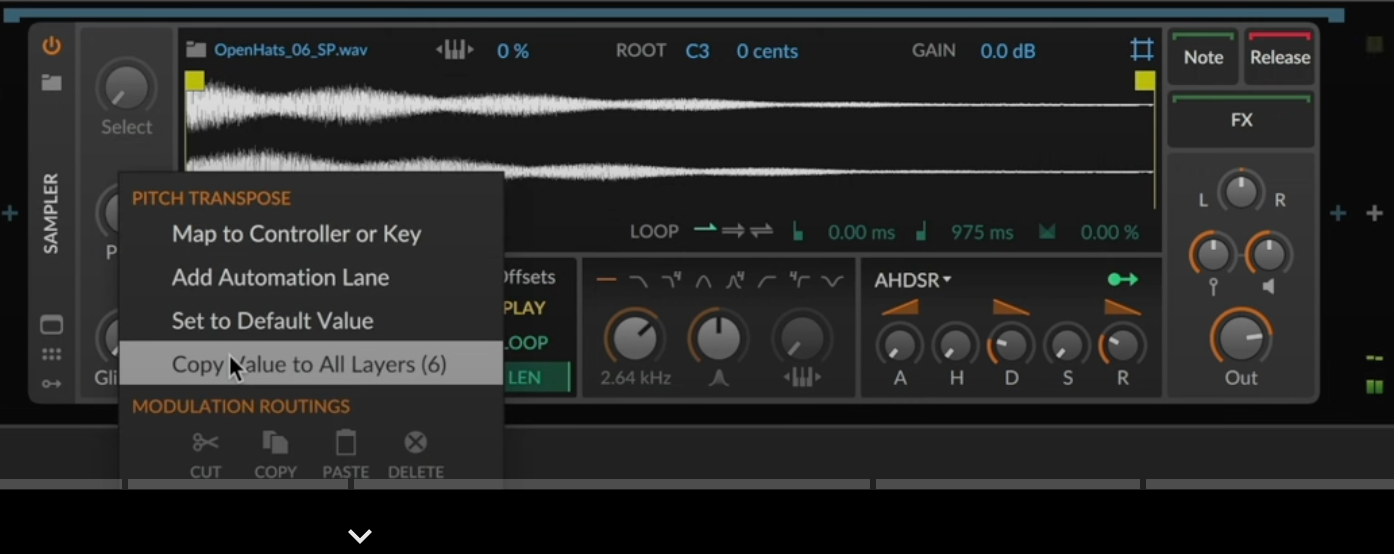
When working with drum racks or instrument layers, making edits to each individual layer can be time-consuming. To make changes to all layers at once, right-click on the parameter you want to edit, choose "Copy Value to All Layers," and the change will be applied to every layer.
Tip #3: Adjust Velocity of MIDI Keyboard
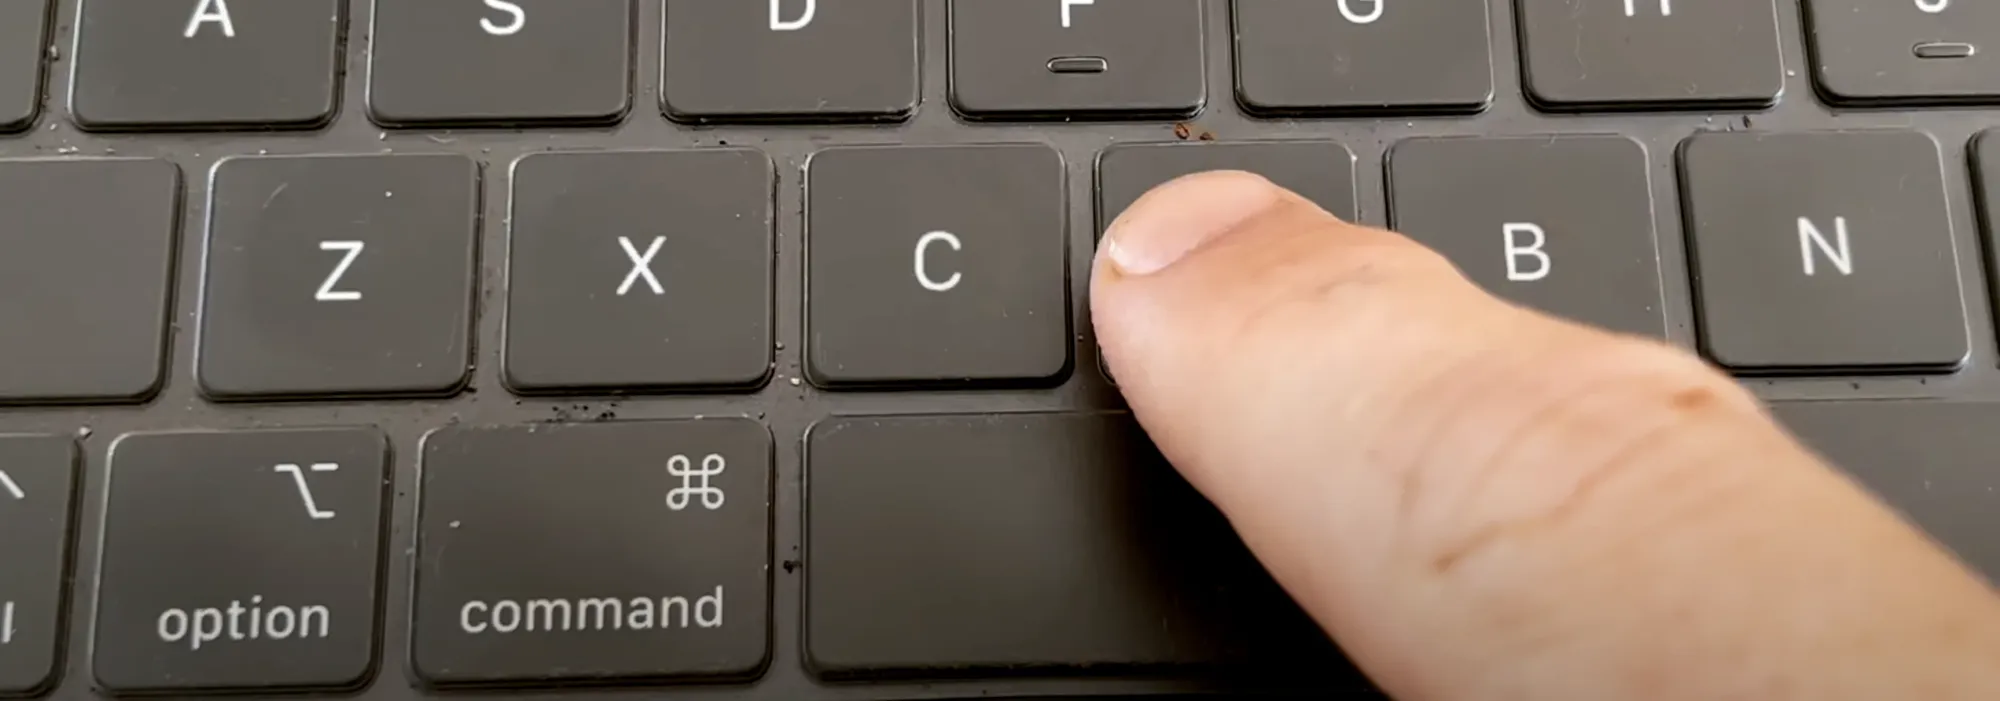
If you don't have a MIDI controller and are using your laptop keyboard to play instruments in Bitwig, you may find the velocity to be too harsh. To adjust the velocity, press the "C" key to decrease the velocity or the "V" key to increase it.
Tip #4: Easily Switch Between Multiple Pairs of Monitor Speakers
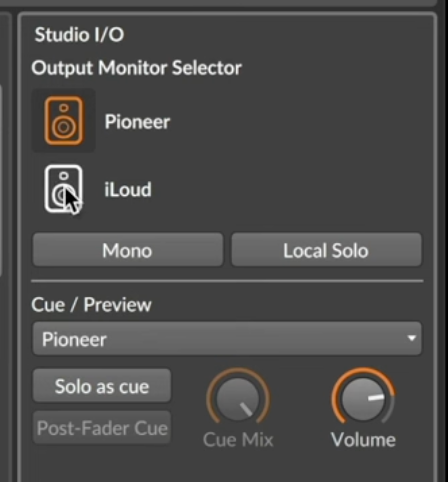
If you have multiple pairs of monitor speakers connected to your sound card, you can quickly switch between them in Bitwig. Simply add a new pair of "Speakers" in the "Settings" menu, assign them to the appropriate outputs on your sound card, and you can then easily switch between speakers using the In/Out panel.
Tip #5: Enable Host Automation for External VST Effects
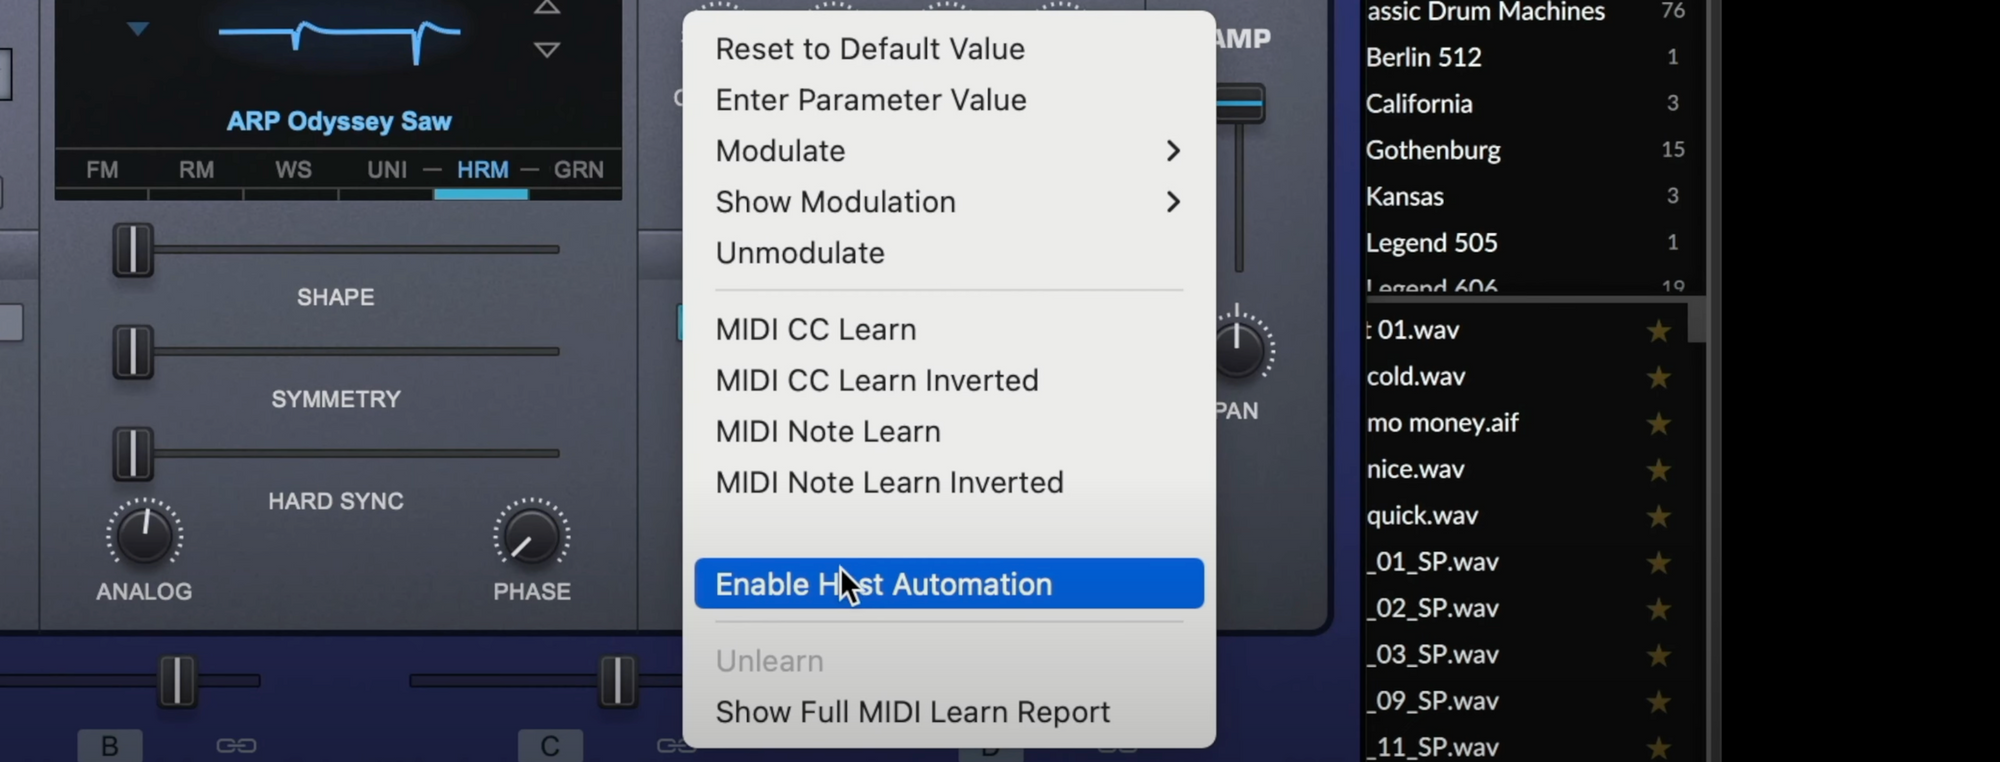
Some VST effects may not have an interface for modulation or automation within Bitwig. To solve this, right-click on the parameter you want to modulate and enable host automation. This will allow you to control the parameter using Bitwig's modulation options.
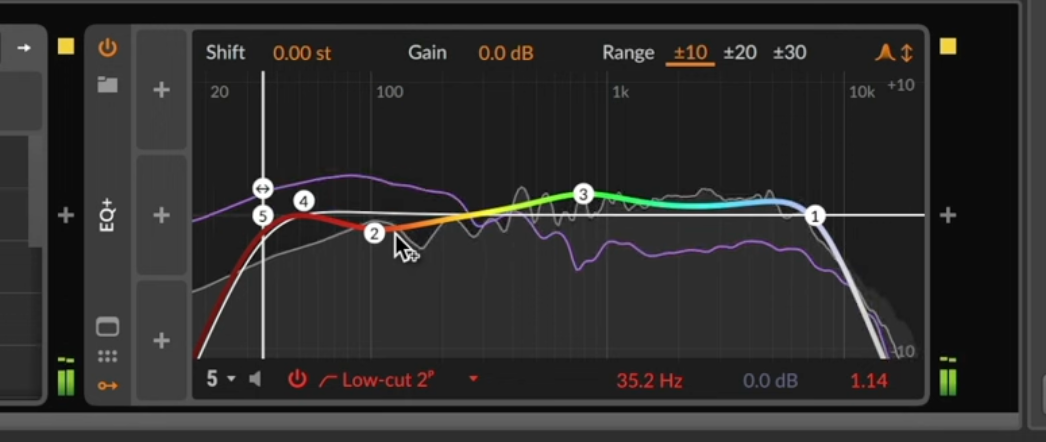
Tip #6: Reference Other Channels for EQ Adjustments
When mixing two objects that need to sit well together, like a kick and a bass, it can be helpful to reference one channel while making EQ adjustments on the other. In Bitwig, you can pick a reference channel in the inspector panel of the EQ device, allowing you to make EQ adjustments based on the frequencies of the reference channel.
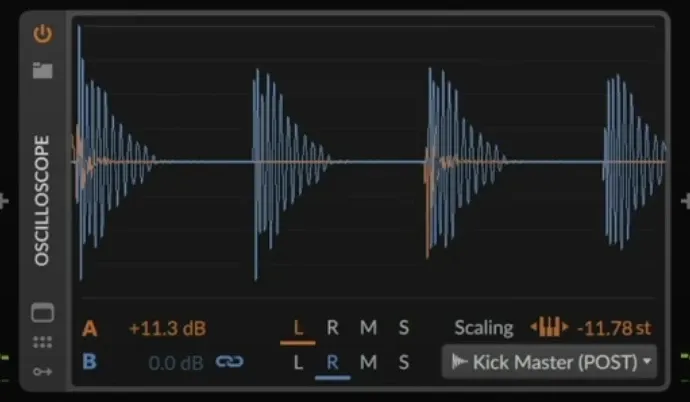
Tip #7: Visualize Sound Shapes with Oscilloscope
For precise editing of sounds, especially kicks and claps, it can be helpful to have real-time visual feedback of the sound's shape. In Bitwig, you can add an oscilloscope device to the sound and adjust the scaling and gain to visualize the shape of the sound waveforms.
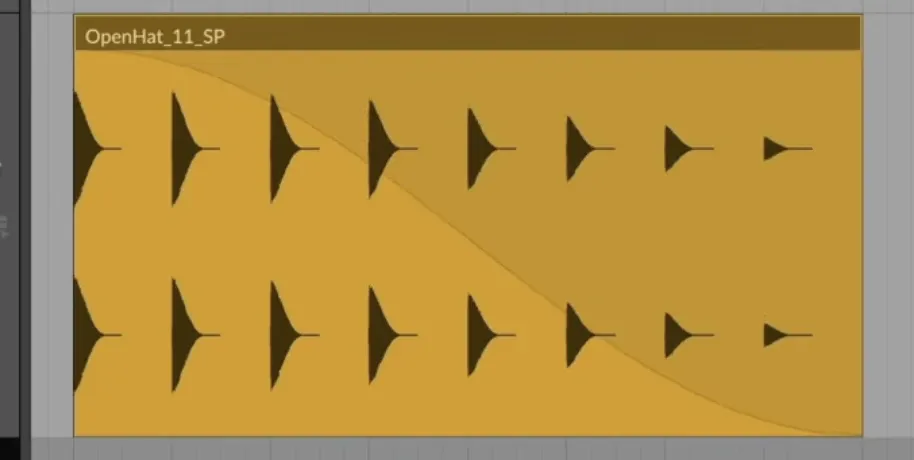
Tip #8: Additional Fades for Audio Clips
In Bitwig, you can add fades to audio clips to make edits like shortening high hats. These fades can be further edited by adding additional fades on top of them, allowing for smooth volume fades or other adjustments without affecting the original fades.
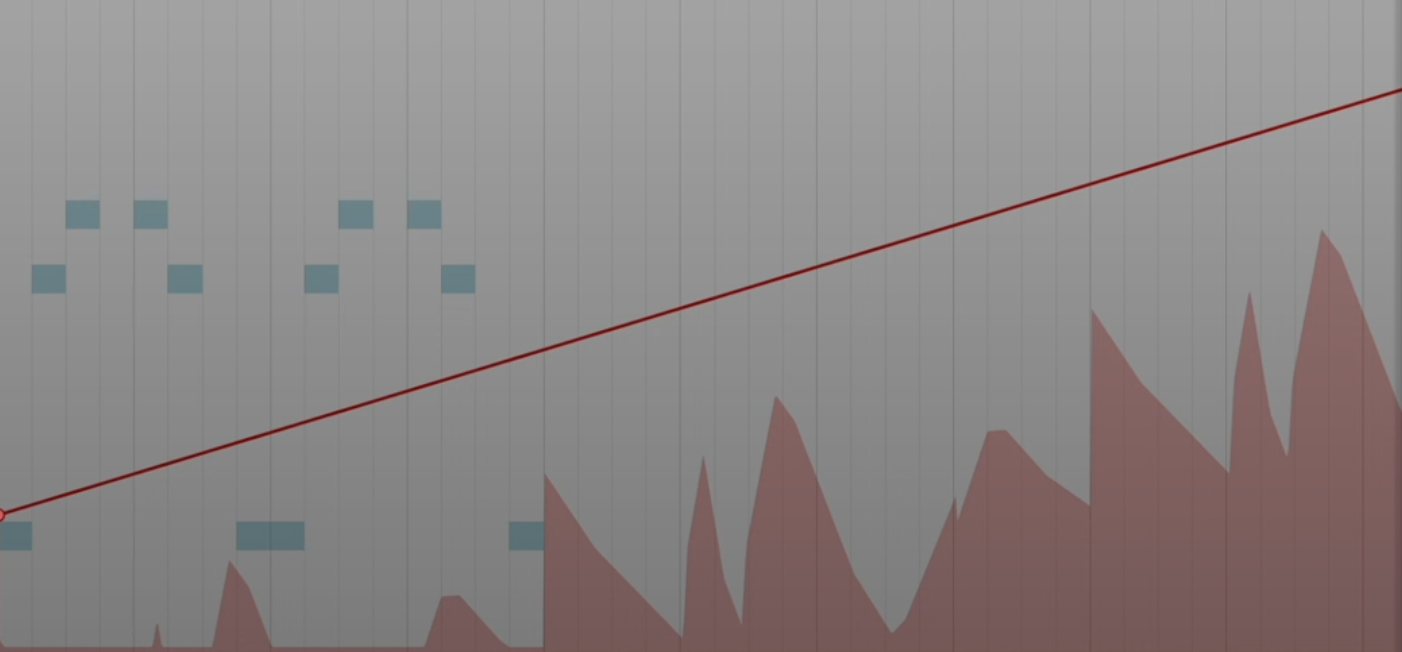
Tip #9: Additive Automation
Bitwig allows for additive automation, where you can draw in additional automation lines that are added to the main automation. This allows for more nuanced and complex automation movements within a single clip, giving you greater control over your sound.
Tip #10: Applying Swing to Audio Clips
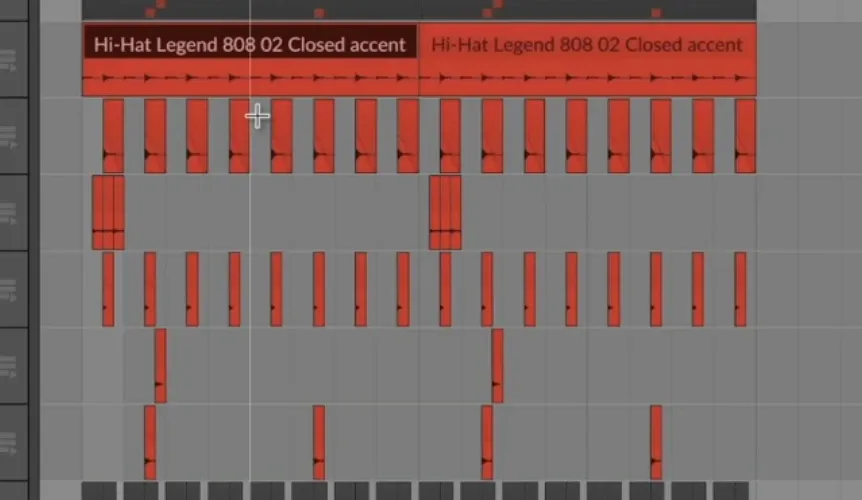
Swing can add a rhythmic feel to your tracks, but it typically only affects MIDI notes. However, you can still apply swing to audio clips by consolidating the individual audio events into a single clip. This way, you can use swing to give your audio clips a more groovy and humanized feel.
That's a wrap for today's tips and tricks. I hope you found them helpful in your Bitwig production journey. Happy creating!

